
A practical guide to crafting style-first prompts so your AI produces consistently beautiful, on-brand artwork. Includes exact prompt text you can copy and paste.
Why start with style (and not the subject)?
When you want consistent, brandable images from AI image models, the single most effective thing to control is style. If you nail the visual language — line weight, shading, color treatment, and finish — the subject can be swapped in later with minimal variation. This article gives you six production-ready, style-first prompts (one master prompt + five specific variants) and practical tips for tweaking them to match any brief.
How to use these prompts
- Copy & paste: Use the prompt exactly as-is for a first pass.
- Tweak sparingly: Add or remove modifiers (lighting, mood, camera view) to adjust results.
- Use negative prompts: If your model supports them, add things you don’t want (e.g., “no text, no watermark”).
- Chain prompts: Use the style prompt first, then append subject-specific details in a second pass.
Master Prompt — Style Only (use this as the foundation)
Start here to lock the overall look. Add your subject details after this sentence when you want the same visual language applied to different images.
"A digital illustration in a smooth, polished, cartoon-like style with bold outlines, clean details, and soft shading. Modern vector-art feel, crisp edge control, subtle gradients for depth, and a high-quality stylized portrait finish."
Tip: Append subject-specific text (e.g., “portrait of a man wearing a black t-shirt, three-quarter view”) to apply this style to any scene.
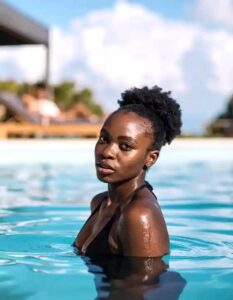
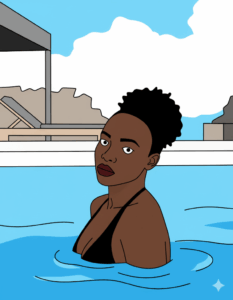
1) Cartoon / Vector Style
Bright, flat colors with crisp outlines — ideal for brand avatars, apps, and social thumbnails.
"A digital illustration in a smooth, polished, cartoon-like style with bold outlines, clean edges, and soft shading. Vector-art aesthetics with flat color blocks, minimal texture, precise linework, high contrast between foreground and background, and a modern stylized look suitable for icons and social thumbnails."

Modifiers to add: flat color palette, high contrast, clean negative space.
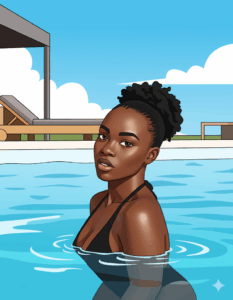
2) Semi-Realistic Digital Painting
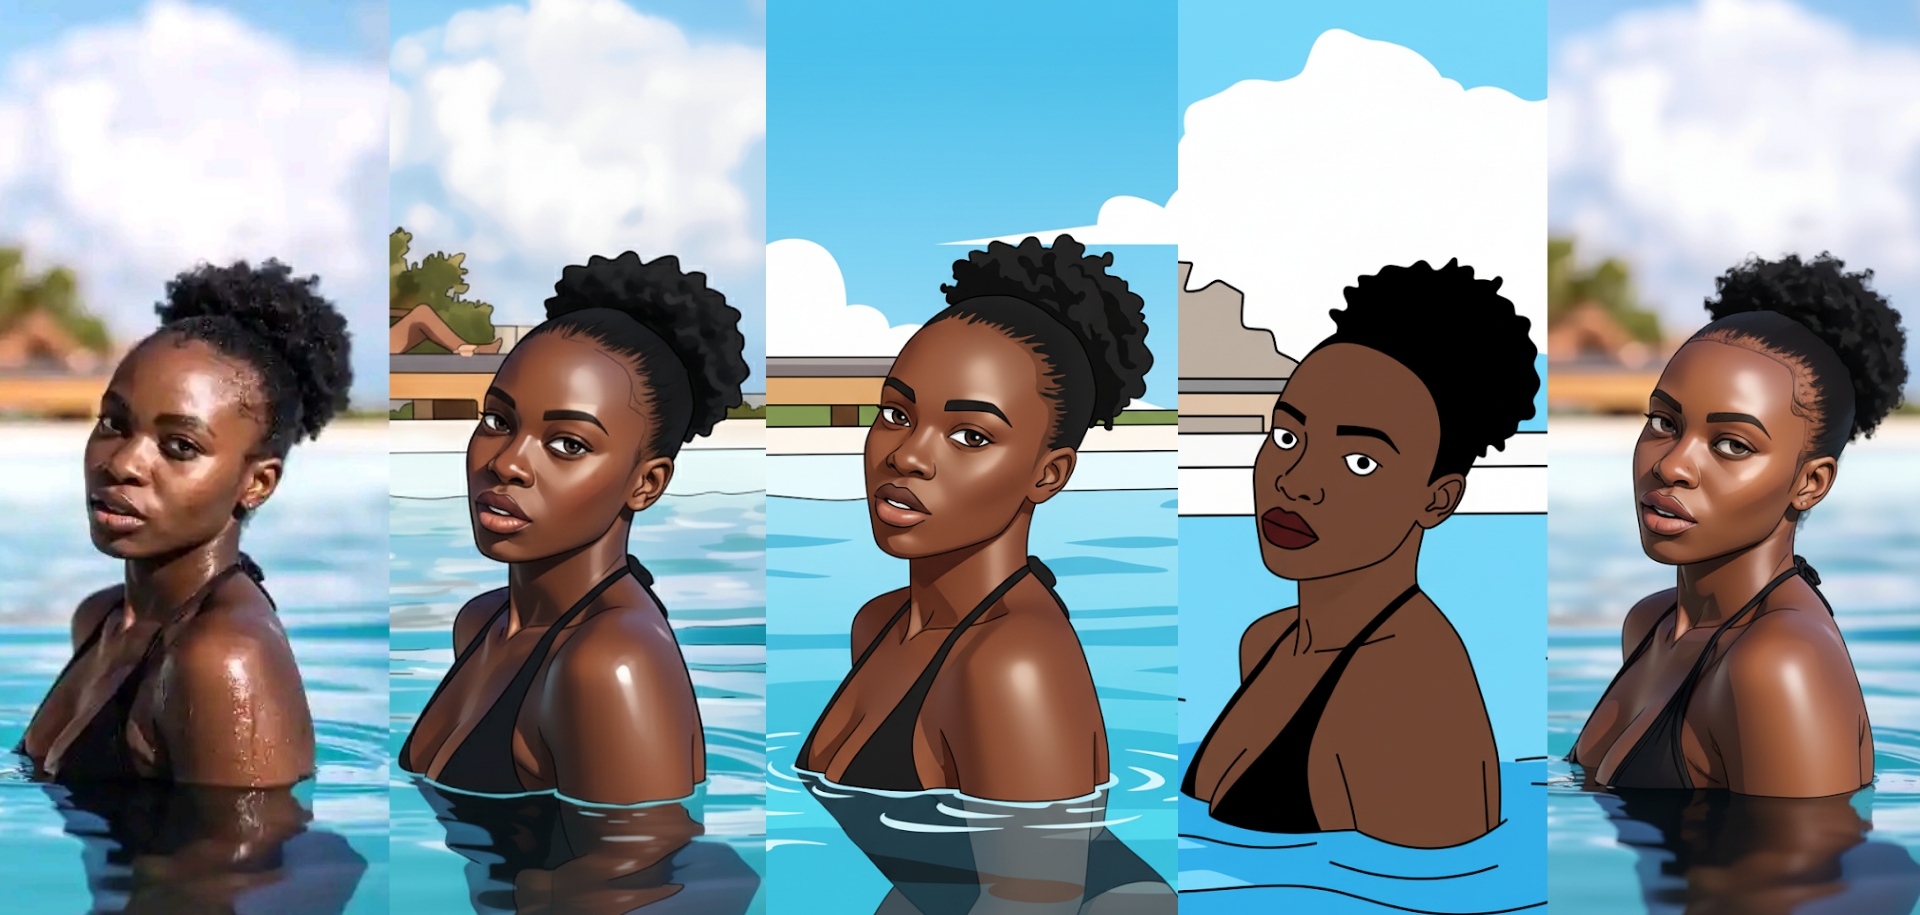
When you want realism without going photoreal — richer skin tones, natural lighting, and painterly blending.
"A semi-realistic digital painting with smooth blending, soft directional lighting, subtle texture, and natural skin tones. Details are refined but stylized — gentle brushwork, realistic proportions, soft ambient occlusion, and a polished but artistic finish."
Modifiers to add: soft rim light, cinematic 50mm portrait, subtle film grain.
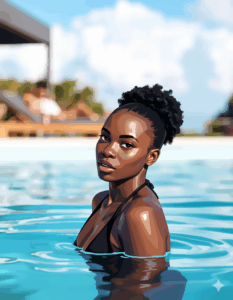
3) Anime / Manga Inspired
Sharp linework and cel-shading for expressive, graphic images that read well at small sizes.
"An anime-inspired digital illustration with crisp linework, cel-shading, bold highlights, and vibrant color. Emphasis on stylized facial features, simplified but expressive forms, strong silhouette, and dynamic yet clean composition common to modern anime art."
Modifiers to add: cel-shading, expressive eyes, dynamic hair motion.
4) 3D Toon Shading
A blend of 3D modeling and cartoon shading — perfect for playful character renders and stylized product visuals.
"A 3D render with toon shading: smooth surfaces, defined but soft-edged shadows, subtle specular highlights, and bold outlines for a cel-toon effect. The model should look like a high-quality 3D character with simplified forms and a stylized finish."

Modifiers to add: soft shadows, studio lighting, subtle specular highlights.
5) Minimalist Flat Art
Graphic, bold, and ultra-clean — great for logos, posters, and modern web illustrations.
"A minimalist flat art illustration with simple geometric shapes, clean lines, uniform flat colors, and no shading or texture. Strong graphic composition, high readability, and a bold, modern design aesthetic."
Modifiers to add: two-tone palette, large negative space, geometric shapes.
Quick tweak guide (3 must-have prompt extras)
- Lighting: Add “soft natural light”, “studio lighting”, or “dramatic rim light” depending on mood.
- Camera & crop: Use “close-up portrait, three-quarter view” or “wide angle, full body” to control framing.
- Finish & detail: Add “high detail” or “minimal detail” depending on how busy you want the image.
Example combined prompt (cartoon vector + subject):
"A digital illustration in a smooth, polished, cartoon-like style with bold outlines, clean edges, and soft shading. Vector-art aesthetics with flat color blocks. Close-up portrait of a man with braided hair wearing a black t-shirt, three-quarter view, soft studio lighting, high detail, no text, no watermark."
Negative prompts & safety tips
If your model supports negative prompts, include things you don’t want to see:
- no text, no watermark, no logos
- no extra fingers, no distortion (for faces/limbs)
- For commercial use: always double-check the model’s license and ensure you have rights to any generated likenesses.
Wrap — final tips for repeatable results
1) Start with the master style prompt, then append the subject. 2) Lock in modifiers (lighting, camera, finish) and reuse them for a consistent series. 3) Iterate quickly: run a few low-res previews, select the best, then upscale or refine.
Want these prompts delivered as presets for your favorite model (DALL·E, Stable Diffusion, Nano Banana, Seedream, etc.) or tailored to a specific brand palette? Save these examples and tweak them to fit your workflow.